The Art of Recording Audio
The art of recording audio is just as important as any other aspect of filmmaking, from shooting jaw-dropping visuals to working your magic on story edits. Sound is an important part of any story, whether it’s dialogue or ambient noise. Bad sound production can ruin an otherwise great film. Treating audio with a little bit of respect, however, can help a wonderful story shine even brighter.
Here’s an introduction to the basics of sound recording, with pre-production and filming in mind.
EQUIPMENT
Filmmakers today have a lot more equipment options than they did even ten years ago – now, we have smartphones packed with apps and programs, and DSLR cameras outfitted with microphones and video capabilities. However, there are limitations to using your phone or trusting that an in-camera microphone will do the trick. Here are a few basic tools of the trade you might consider using.
- Lavaliere (“lav”) mic: Lavs are the tiny mics you often see clipped to people’s clothing (or don’t see when they’re tucked beneath it), and they work well for interviews and dialogue.
- Shotgun mic: This long, tubular mic is much larger than a lav and captures a much higher sound quality.
- Boom: Mounting a shotgun mic on this long pole allows for precise microphone placement, since you can dangle the mic just out of frame. It’s possible to use any long pole (a broom, a trekking pole) and some ingenuity in place of a professional boom, but you will lose maneuverability in the process.
- Shock mount: This mounting device prevents vibrations from being transferred from, say, your hand to the microphone.
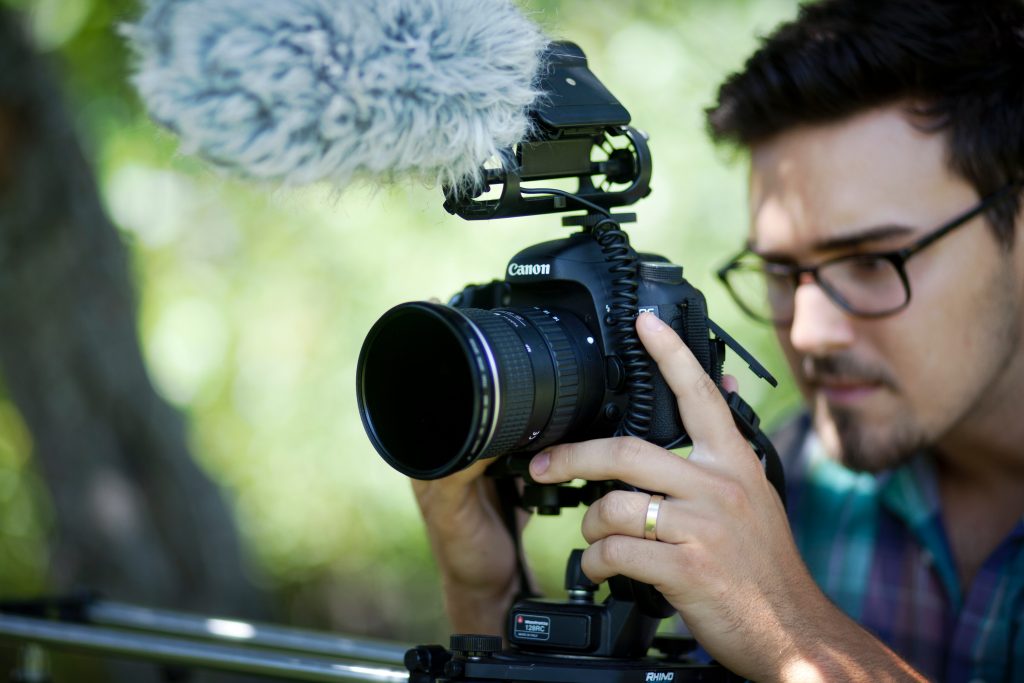
- Windscreens: While most micrphones will come with a basic foam cover, these won’t help deter even the lightest breeze – you’ll want to have a windscreen for your mic. A fur windscreen (i.e. a “dead cat”) will work for most light winds, but you’ll want to switch to a blimp (a tube-shaped protective shell) for heavier wind.
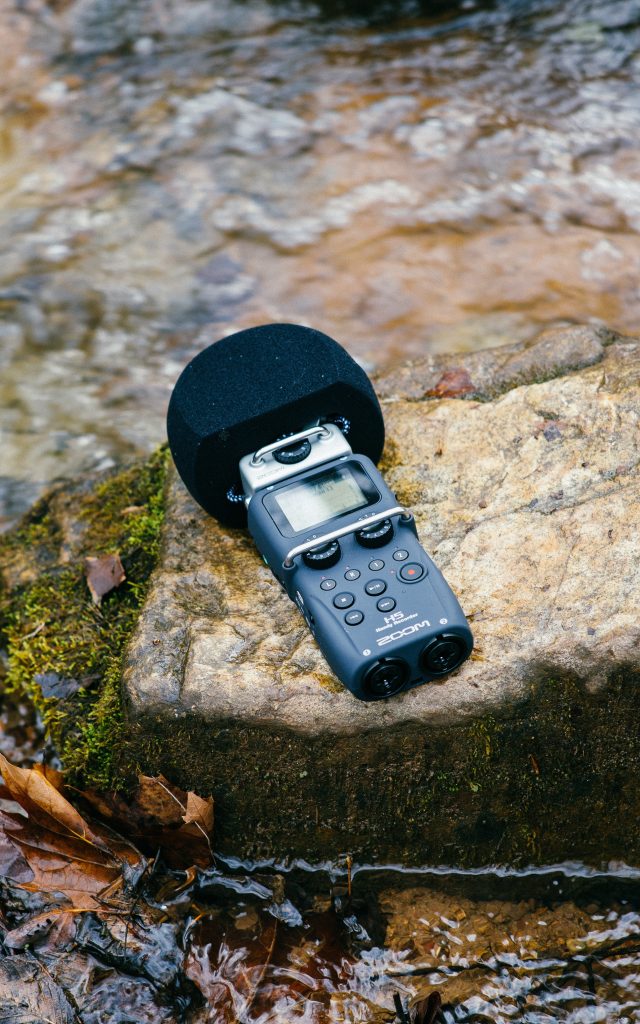
- Digital recorder: While many modern cameras are equipped with sound recording capabilities, it’s smart to utilize an external recorder for the best sound quality.
- Headphones: While your earbuds will technically do the trick, you want a decent pair of headphones to ensure that you’re able to adequately hear and judge the quality of what you’re recording.
- Slate: Most people are familiar with the classic image of a black-and-white clapboard or clapper; this device allows you to sync up your audio and visual recordings in post-production.

PRE-PRODUCTION
While it might seem most exciting to think about locations, visuals, and storytelling during the pre-production process, it’s important to devote ample time and energy toward working out a plan for sound recording. Here are a few things to keep in mind:
- Role: Determine the role of audio in your production. Are interviews or dialogue a major part of your storyline, will you mostly record ambient sounds and background noise, or is it a mixture of both? Think about audio as you compile a shot list or storyboard to ensure you get exactly what you need during the shoot.
- Budget: Be sure to include any audio recording needs as you’re working on a production budget. Will you need to buy or rent gear for the shoot? Will you need to hire someone to operate the boom or handle audio altogether? Are you planning on handling the post-production mix, or will you farm that work out elsewhere?
- Gear: Take stock of the gear you need for your production. If you’re doing interviews, you may want to ensure you have a lav mic available. If you’ll be shooting in potentially inclement weather, you’ll need the proper equipment to protect your gear (see below for tips). If you’re renting gear, make sure you’ve chosen an appropriate rental period to account for “rain days” or reshoots. Once you have all necessary audio gear assembled, come up with a packing system that will keep it organized throughout the shoot, especially if you’ll be deep in the backcountry.
- Location: Location scouting can be a useful tool when considering the ambient noises that may exist in your filming location. Are you near a shooting range, airport, military base, or active train track? All of these things can introduce frequent loud sounds in the background. Similarly, consider any naturally occurring sounds when you’re shooting far from civilization – for instance, a waterfall is beautiful, but can produce a deafening roar. Conversely, there are sounds you might really want to capture; for example, a twilight shoot near a pond can offer the idyllic sound of croaking frogs (and humming mosquitoes).
- Crew: Certain recording gear, techniques, or locations may require an extra set of hands or two. Consider hiring help (or if strapped for budget, asking a really nice, steady-handed friend to help) for these portions of the shoot.

PRODUCTION
You’ve probably heard the phrase “we’ll fix it in post” – and if you’re smart, you’ll realize that it’s far better to address things up front, so that you don’t have to waste time during post correcting errors. Here are a few tips to help you save time while in the field.
- Record audio on camera, too. Even if you’re using a digital recorder, it’s not a bad idea to also record audio in the camera itself. This can help you with syncing everything up in post.
- Use a slate. Similarly, using a slate helps to sync picture and sound, and will save you time in the edit later on.
- Pay attention to levels. Try to record at the highest volume you can without introducing distortion: -12 dB is optimum.
- Think about placement. An external mic is key to capturing excellent sound quality – this allows you to set the mic as close to the subject as possible, rather than having it sit closer to the filmmaker. Use a lav mic or carefully positioned boom near your subject to help the sound feel full (the longer sound waves have to travel, the more tinny or empty they can sound).
- Get sound on location. Record some ambient sound (at least a minute or two) while on location; you never know when you’ll need it to fill in space or add depth to a scene.
- Pay attention to wind. You’ll definitely want to use some type of windscreen, but you should also consider placement as a defense against wind noise. Position the mic away from the direction of the wind, using physical objects (trees, boulders, buildings) or even your subject as an additional shield.
- Protect your mic from the rain. Most mics can handle a light drizzle, but anything more requires a stronger touch. Add water repellent spray to a fur windscreen, use finger cots over lavs, and pull non-lubricated condoms over shotguns to keep them dry. In heavy rain, shelter your mic with an umbrella or tarp, and be sure to position the mic away from the sheltering material or use something like a pack towel to dampen the sound of the rain on its surface. If you’re on the go, you can wrap hog’s hair (found in the filter department at the hardware store) around a shotgun, or haul your gear in a dry bag.
