
The basics for camera angles and composition are fairly easy to understand and to remember. The hard part is actually getting it down well enough to use the “rules” artistically and creatively.
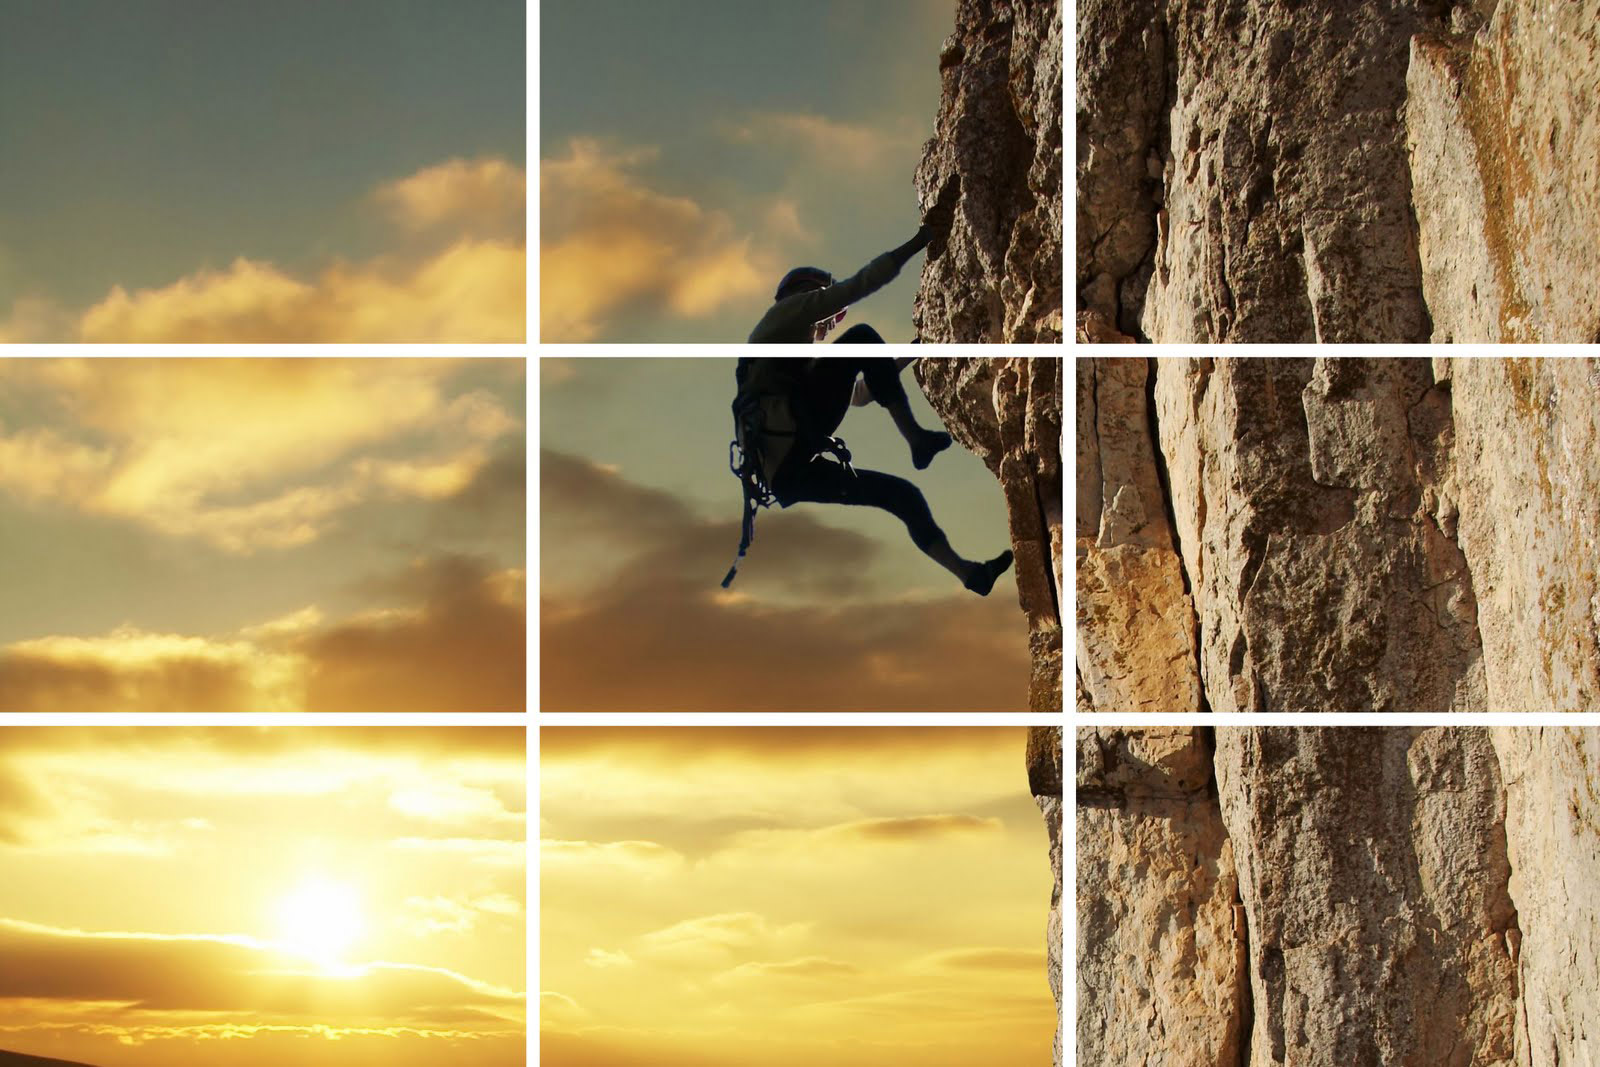
The rule of thirds is the key rule you should know when framing a shot, particularly with people in the shot. Some cameras can grid this out on screen, but really you just need to envision the frame divided vertically and horizontally into thirds and make sure your subject falls on the point where the lines intersect. Here’s a visual for you:
Shot types consist of various distances from your subject matter and they have special names. Naming varies from production to production but the general rules still apply.
The establishing shot is the first category and it does exactly that, it sets up the scene. It could be an Extreme Wide Shot (EWS), a Very Wide Shot (VWS) or a Wide Shot (WS). An example of each would be an aerial of the town, a specific warehouse building shot and then a shot of the warehouse door opening and a car driving out.
Next we have the Medium Shot (MS), Medium Close Up (MCU), Close UP (CU) and finally Extreme Close Up (ECU). MS is usually from about the waist or mid-thigh up. MCU is a bust shot, if you don’t know what a “bust” is, study your art. The CU is the whole head with space above the hair and below the chin. Finally, the ECU is anything closer, so just the eyes, the eyes and the mouth or just the nose (maybe the subject is snotty and you wanna share that intimately with your audience).

Many other shots support these main shots, especially in an interview situation. Cut-In shots are ECU’s that cut to things like the speaker’s hands or keys being handed to another person. Cut-Away shots are any variety of shots that don’t necessarily have to do with the subject itself. Such as cutting to a climbing scene because the speaker said they enjoyed climbing.
There are a wide variety of other shots that I won’t go into detail about, but they include Point of View (POV), Over the Shoulder (OTS), Single, 2-Shot, 3-Shot, and more.
Camera angles can be used decisively with each of the above-mentioned shots to help push the idea, concept or emotion that you want to convey at that moment in your film.
Bird’s-eye-view is shot directly from above and can make people or objects seem insignificant or part of something far greater, it’s a god-like view for the audience. Similarly the high angle shot is used to make the subject seem insignificant and maybe engulfed in the wider picture. Coming down from there to an eye level shot allows a relatively neutral and naturally human perspective. Going down to the low angle shot provides disorientation since there is only the subject and sky or ceiling. It also creates fear and insecurity in the audience since the subject is higher and dominating the shot.
Camera movement is one of the final pieces to creating the right picture for your scene. Pan and tilt are the basics, but then you can use those in other dolly shots, crane shots, and aerial shots. Hand-held shots are popular these days for adventure filmmakers in particular. Carrying a whole bunch of equipment is usually not an option or a desire.
All in all there are an infinite number of ways and combinations to shot a scene. Once you know your story, you’ll know what kind of shots you need and planning ahead is a big part of shooting for the edit.