
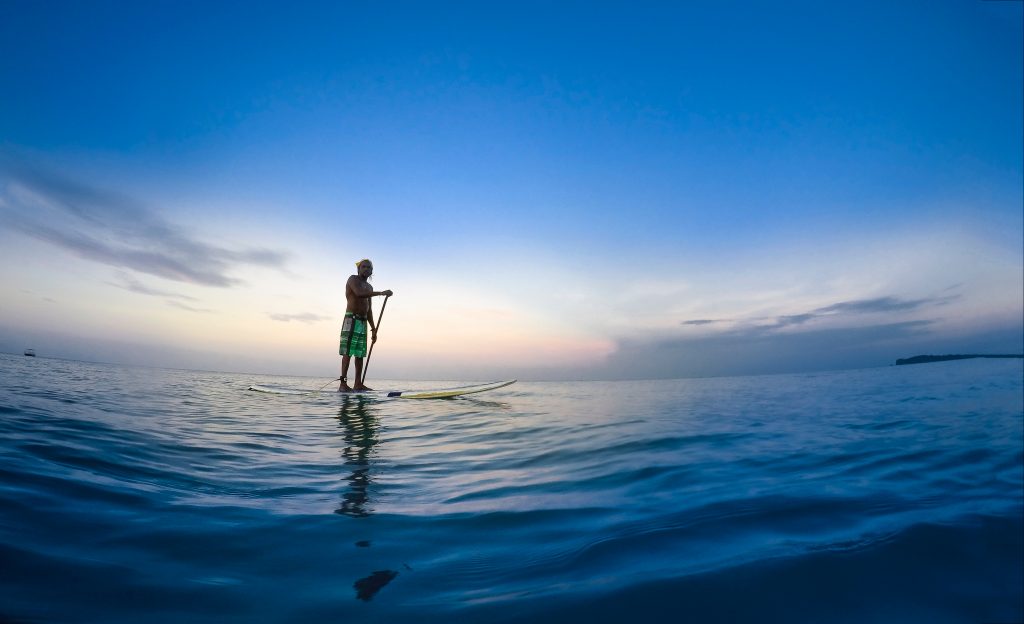
Spending time on the water – whether you’re fishing, surfing, swimming, or paddling – can be magical, exhilarating, and restorative. Filming on water, however, can be stressful if you don’t have all of your ducks in a row when it comes to safety, gear protection, and technique. Here’s a starter guide to help you get ready.
WHAT DO YOU NEED?
The biggest technical issues you’ll encounter when dealing with water shoots are stability, and well, the presence of water. Your gear choices will definitely be dependent on the type of shots you want to capture, whether you’re planning to fully submerge the camera, and whether you’re on some sort of watercraft, a pier or dock, on the shoreline, or in the water itself. That said, there are a few general items that will come in handy whenever you’re shooting on or near water.
First, let’s talk about waterproofing. Unless you’re using a waterproof camera, you’ll need to figure out how to keep the wet stuff from interfering with your camera’s mechanisms. One option is to rent or buy a waterproof housing for your existing camera; just be sure to test it at home (without the camera inside) to be sure it’s actually waterproof. You might also consider using dry bags or plastic bags to keep other equipment, like battery packs and lighting equipment, dry during the shoot. If you want a general run down on how to protect your gear from the elements, check out our blog on the topic.
Now, on to stabilization. No matter how glassy the water appears, it’s still constantly moving. While you can utilize an in-camera stabilizer or vibration reduction feature, you will also want to consider bracing the camera with your body, other objects, or the boat itself. Remember: movement on water is natural, so don’t fight it too much – just make sure no one gets seasick while watching the finished product!
Here are a few other items you might want to keep on hand for a water shoot beyond those two categories:
- Clamps and straps, to keep your gear from tumbling into the water
- Battery-operated lights, so you don’t have to haul along an electrical source, and to avoid dealing with a tangle of electrical cords near water
- Red lens filter if shooting underwater; this will help counter the dominant blue light
- Polarizing filter, which will minimize glare from the water
- Dramamine or similar – seasickness is real!
- Sun protection is key when you’re spending any time out on water. Sunblock and sun protective clothing are important, and you may want to consider using polarized sunglasses to help cut down on glare.

SAFETY FIRST
Working on or around the water comes along with a few extra safety concerns to keep in mind. Practicing good risk management and arriving completely prepared for what might happen will help ensure a smooth shoot.
- Weather: Hazardous weather conditions are always a concern whenever you’re shooting outside, but it’s especially important to keep track of potential storm activity if you’re going to be out in the middle of the water. The NOAA’s Marine Forecasts site is a great place to start when researching conditions. As part of your preparations, come up a contingency plan for the event of foul weather.
- Tides: Similarly, it’s important to check tide tables if the area you’ll be shooting at is affected by tides or tidal currents – both can be found via the NOAA’s website. Along with that, be sure to check currents, and know the depth of the water you’ll be in if you’re using a boat.
- First Aid: As with any outdoor activity, it’s important that someone (if not several someones) on your crew is skilled in first aid and CPR; in a water setting, it’s not a bad idea to have a lifeguard present, as well. Be sure that you carry a well-stocked first aid kit – and of course hope that you don’t have to use it!
- Boat Safety: If using a boat during your shoot, be sure that there are life jackets on board (and a first aid kit, if you’re not bringing your own). Consider using a tether to keep yourself attached in case of rough water, and have someone else steer or drive while you’re shooting.
- Communications: Know what communication limitations exist where you’ll be shooting. In many cases, your cell phone won’t work, so it’s a great idea to bring along an alternate communications device (like a satellite phone or a two-way device like the Garmin inReach) or a personal locator beacon (like a SPOT device or a ResQLink).
MAXIMIZE YOUR EXPERIENCE
While every shoot is different when in comes to subject matter, style, and substance, there are a few general tips to keep in mind whenever you’re filming on or near the water.
- Be very organized. Conditions can change quickly anytime you’re shooting outdoors; have a clear plan for the day and keep all of your gear organized in case you have to change course on the fly.
- Know rules & regulations. As with anywhere else, make sure you are actually able to film where you want to film. Is a permit required? Do you need a license to take out a boat? Learn all rules and regulations for the area where you’re shooting, including limitations on speed, wake, and group size. For more information on this subject, visit our Location Permitting 101
- Scout ahead. Visit the area where you’d like to shoot to understand how the sun and shadows change throughout the day, to consider which locations and angles you’d like to shoot from, and to look for any potential dangers or roadblocks to a successful shoot.
- Watch the horizon. Whenever you’re shooting on the water, it’s important to think about the horizon line – usually, the more horizontal you keep it in the frame, the better. Of course, this isn’t a hard and fast rule – play around and see what works for you.
- Keep everything dry! This goes without saying, but water is, well, wet. We’ve already talked about keeping your electronics dry, but the same should go for all of your paperwork, too. Consider laminating any heavy-use paperwork; dry bags and dry cases are also great to have on hand, although a simple zip-top bag will work for many things, as well.
Here’s to hoping that your next shoot on water is nothing but smooth sailing!
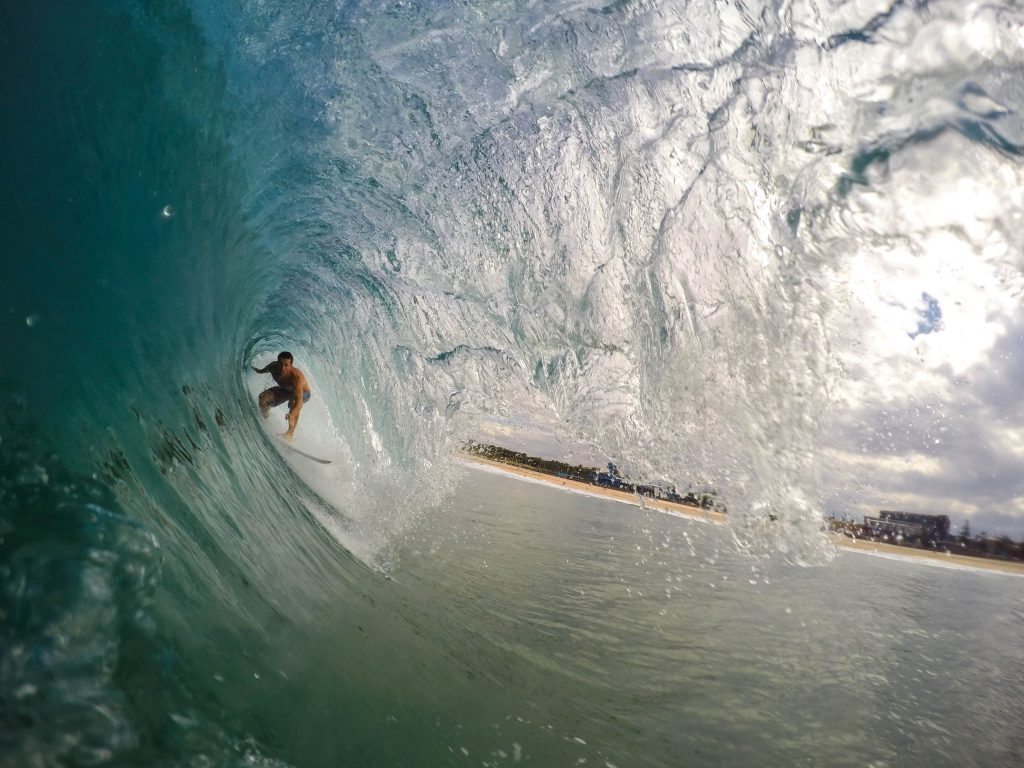
top photo by Jeremy Bishop