
An interview starts with finding a subject that has not only a great story, but great on-camera presence with an innate ability to be real and honest. The second part of that, and they go hand-in-hand, is an interviewer who asks the right questions to bring out the soul of the story that makes the audience invest.
Less than ideal lighting, sound, camera angle, etc. can be overlooked if the content is compelling. That being said, if your lighting, sound, camera angle, etc. are indeed off, it can greatly take away from the potency of what the person being interviewed is saying. So, let’s look at some basic lighting and shooting.
Lighting an interview is normally a simple 3-point lighting set-up regardless if you are in a studio or on top of a mountain. The first light is the key light which is the main light source on the subject, then comes the fill light which balances the key light by being on the opposite side of the subject and finally the hair light and it does pretty much what you’d think, it lights the hair to separate the subject from the background. Those are the three you’re looking for and usually to spice things up, there are background lights that help push the 3D feel of the image, especially in a space that has a deep background.

The key light is usually a softened light, which gets rid of harsh shadows and complemented with the fill light it creates a nice contrast, creates depth in the subjects face and highlights cheekbone and jaw line. These two lights are normally placed opposing each other. The hair light is usually placed high and a little behind the subject to accent the hair.
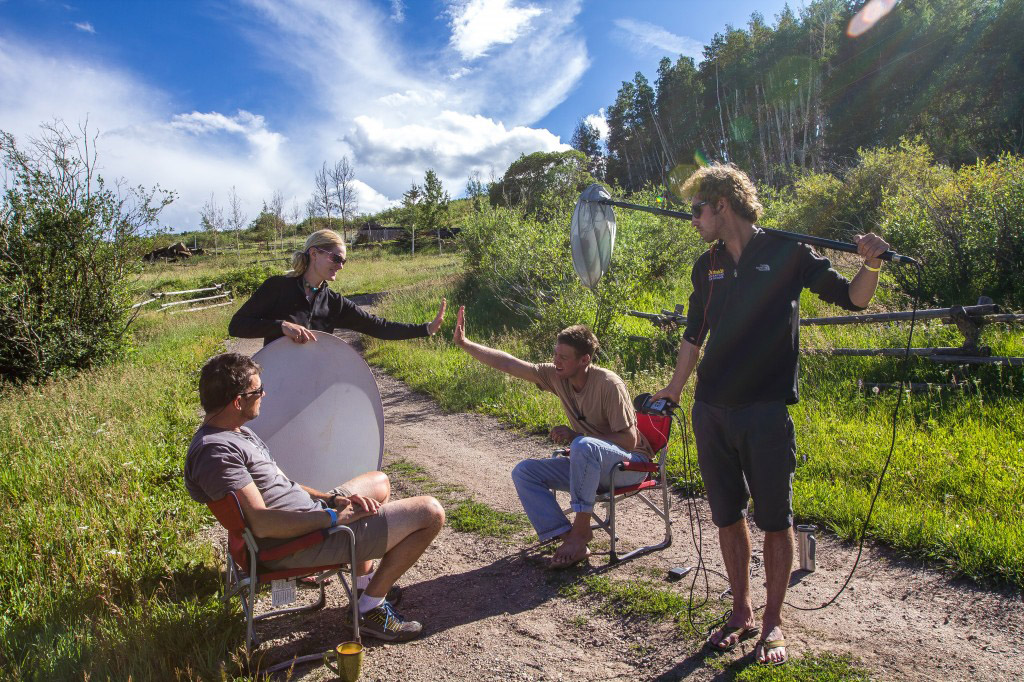
How does this play out in the field? If you don’t have the luxury of having mobile lights on your shoot, you can use available light – like the sun. Spread light around using diffusion and bounce cards. Even if it’s not sunny, there is still enough light during the day to bounce off of a reflective surface and create the key light and the fill light. The hair light is usually just the sun, and if it’s cloudy, well, no hair light then unless you bust out your head lamp and get it as close to the subject as possible.
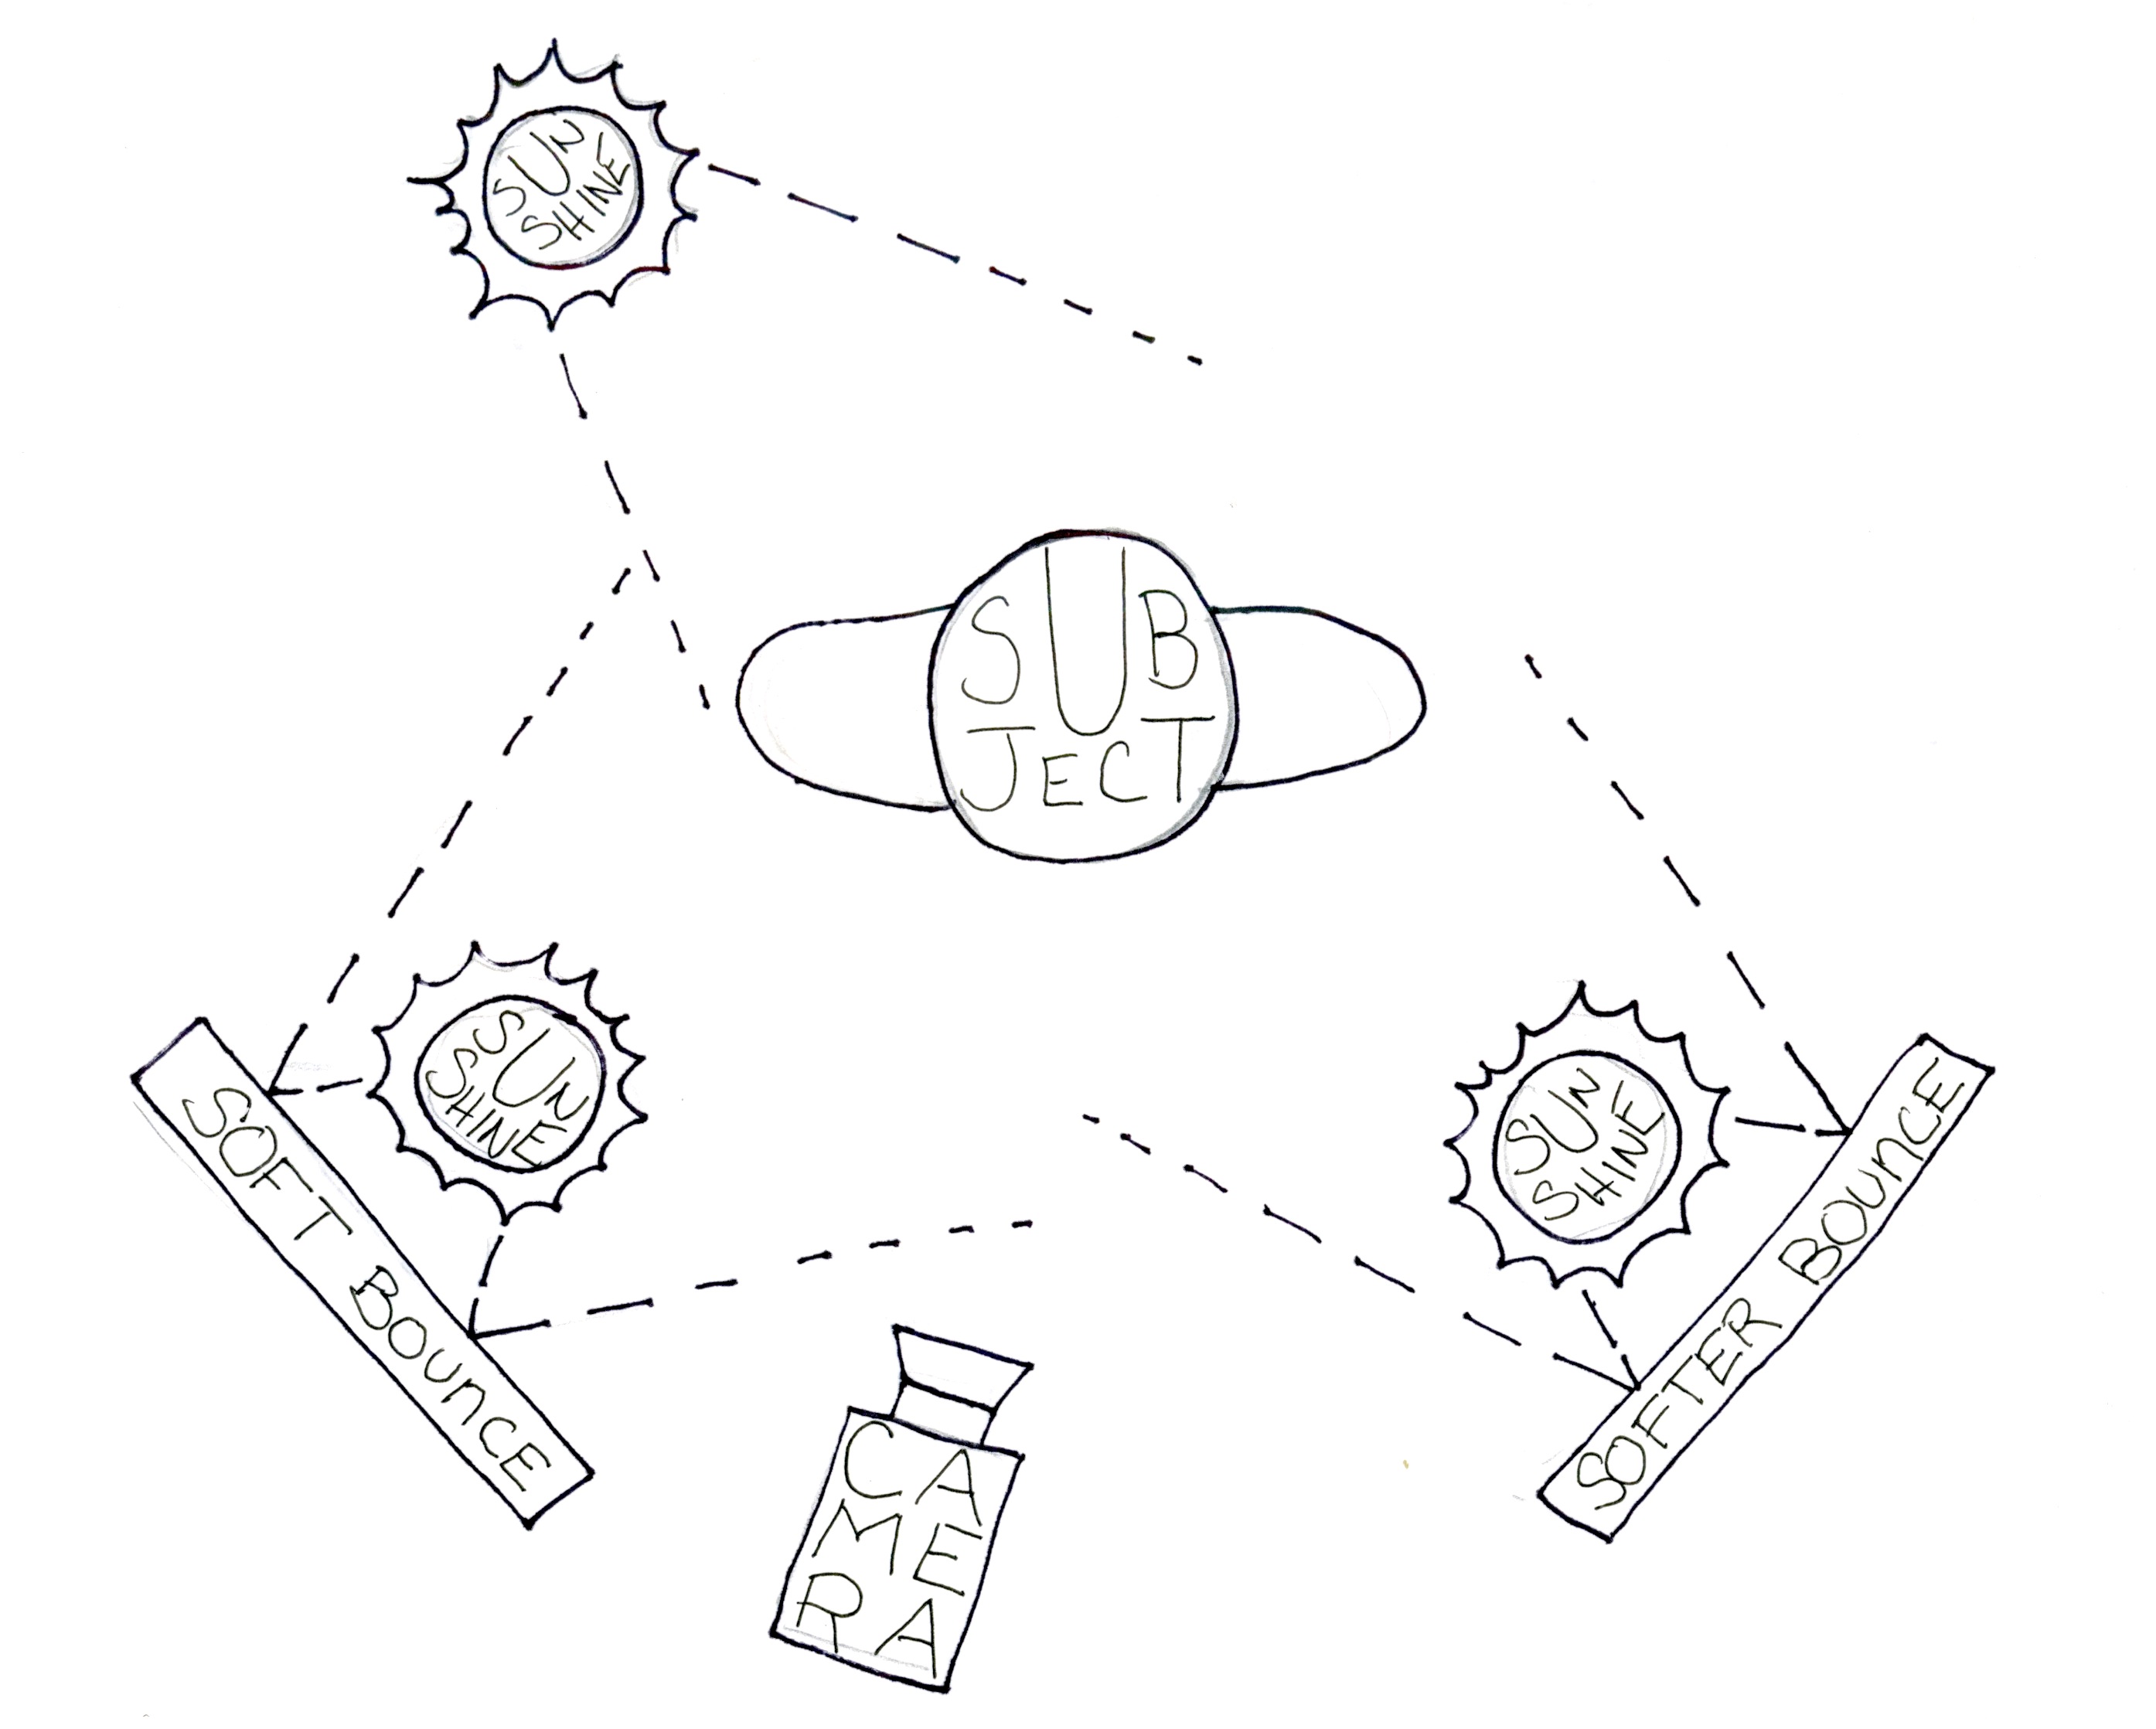
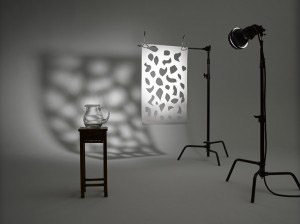 Get creative! The sunlight reflecting off water for a fill light or light coming through the trees to make a cookie light (usually a piece of paper with a pattern cut out of it that light passes through, “cucocolis” or “cookie”) could be cool accents to an outdoor interview.
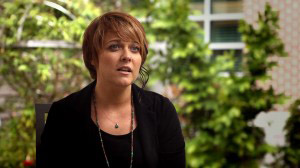 There are many different styles of shooting an interview. A very popular way is using a very shallow depth of field where the subject is in sharp focus and the background is very blurry. To achieve this it is best to have a long, telephoto lens far away from the subject, zoom in and set the aperture either all the way open, or close to it. The only caveat is that with a narrow depth of field, if the subject leans forward or back they become out of focus.
Different camera angles are always good to have, which is why a multi-camera set-up is best. This way you can bounce from one angle to the next in post to skip over and blend together parts of the interview. As a general rule for nearly all shots, you want a wide establishing shot, a waist-up shot and a close-up shot. Sometimes, especially in the field, this may not be possible, but that’s something to consider before you leave for your production.
Also, my biggest reason for a multi-camera setup is that if your subject is telling an intense or heart-wrenching part of their story and you only have one camera, there is no way to re-create that emotion in a separate take when the battery dies, camera times out, card gets full or from a different angle (such as a close-up).
In the end your own production needs will determine how you go about interviewing and lighting that interviewee, so, as always, spend a lot of pre-production time ironing these things out!