
If the success of films like Meru, Dawn Wall, and Free Solo has shown us anything, it’s that audiences—mainstream audiences—enjoy well-made, captivating climbing films just as much as the dirtbags among us. The great news is that you don’t have to have silver screen aspirations (or budgets) to make a great climbing film. Here are a few tips to help steer you in the right direction.
IT’S ALL ABOUT THE STORY
Storytelling is king. This is, of course, the golden rule. Filmmaker Jim Aikman, whose work often centers on the alpine, says that while old school climbing films focused mostly on the climbing itself, contemporary filmmakers realize that a truly compelling film relies on character development and strong storytelling skills. “The climbing narrative translates so well to storytelling, because the mountain is an arc, so the story arc comes pretty naturally,” he says. “And then, of course, the characters who are drawn to these types of adventures are often pretty interesting, dynamic people.”
Take some time to carefully consider your story arc before filming: Who is the protagonist? What kinds of challenges will they face, how do they change through the experience, and what is the resolution of their challenge? What other players are involved in their story? “Always come back to the character. Unless your main character is on some sort of personal journey, your film might not be worth making,” says Aikman. “A climbing objective alone is not enough—no matter how interesting or difficult—without a compelling character arc.”
Also think about how you want to tell the story: What is the balance of action versus interviews? Will you use archival footage or animation? Come up with a shot list, as well. The more well-developed the planning process, the more prepared you’ll be once you actually start filming—and the more compelling you’re film will be once completed.
SAFETY FIRST
While this rings true for any shoot, safety is especially paramount when it comes to climbing films. Here are a few things to keep in mind:
- Plan ahead: Check on weather conditions, sunrise & sunset times, and current rock (or ice/snow) conditions. Read current reports on conditions, potential rockfall, and general safety issues, and scout the location to identify any other potential concerns before filming.
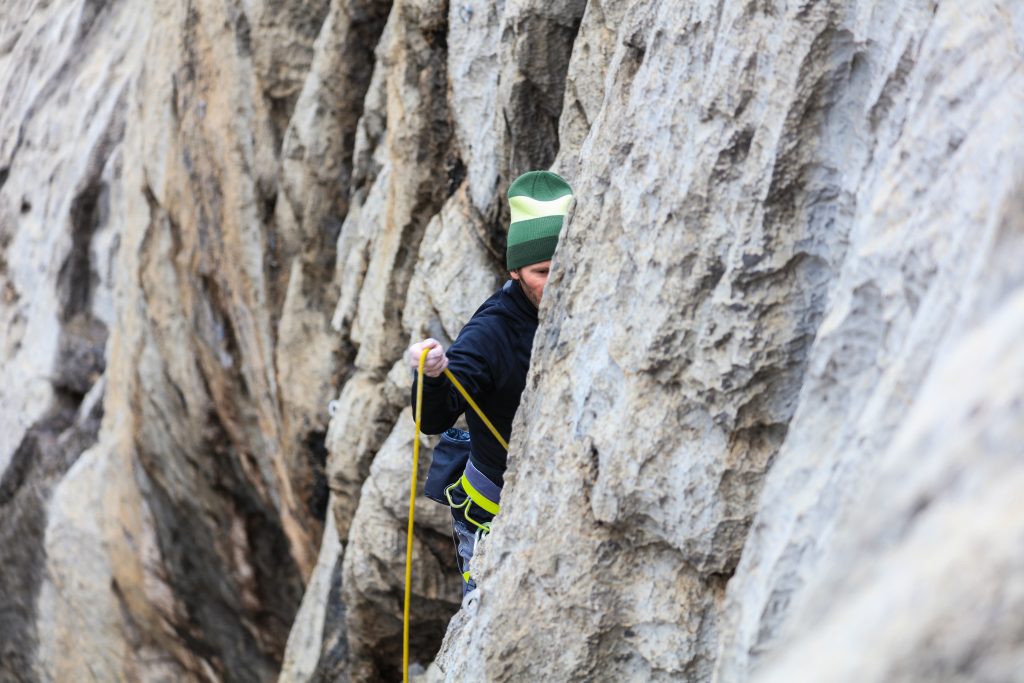
- Know your systems: “It’s always challenging to get clean shots from a rope,” says Aikman. “Practice jugging and rope management to make sure you can focus on the shot without having to worry about your rigging.” And of course, know how to self-rescue so you can bail if there’s trouble.
- Bring a third: The belayer should be focused on the very important task of supporting the climber; the photographer or filmmaker should be a third person who is not part of the actual climb.
- Be conscious of the climber: Good communication is critical; make sure the climber knows what to expect from the film crew and allow them to raise red flags if something doesn’t feel right. Be sure to stay out of their way, keeping all rigging materials (and the camera itself) out of their path—and of course, be extra careful not to initiate rockfall if you’re positioned above them. Finally, ensure the climber isn’t taking any extra risk just because there’s a camera present.
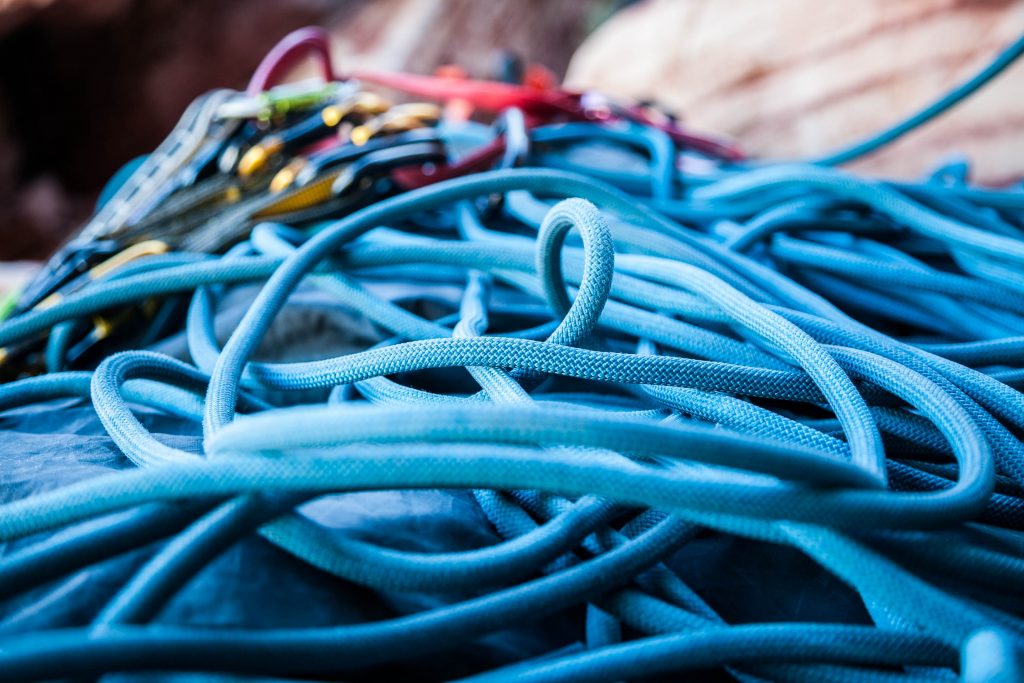
DIAL IN YOUR GEAR
Choosing gear—especially climbing and camera gear—can be a pretty personal affair. However, here are a few items that come in especially handy during climbing shoots:
- Anchor equipment: You’ll want to research the area to find out what kind of anchor-building gear you need to bring along.
- Harness options: In addition to a typical sit harness, you might want to consider also wearing a chest harness to give you more positioning options.
- Bosun’s chair / belay seat: It can get fairly uncomfortable hanging in mid-air; a homemade or store-bought belay seat will keep you sitting pretty, at least for a while.
- Static rope: This is going to be a lot easier to move up and down along than a dynamic rope.
- Jumar / ascender & aiders: An ascender will make it much easier to move up and down the rope to follow the action; aiders will do just that—aid in upward movement along the rope.
- Rappel device: After all, what goes up will eventually need to come down!
- Camera bag: Aikman suggests a top-loading, waist-mounted bag for ease of access.
TIPS & TECHNIQUES
Each filmmaker and photographer will have their own tips and tricks for filming climbing action—the possibilities for learning are endless. That said, here are a few general tips to keep in mind:
- Study the route: This is where scouting comes in. By studying the route, you can assess the crux moves and decide where to focus your shots throughout the climb. In addition, you can watch how the light hits the route and track how it changes throughout the day; this will help you decide on positioning throughout the climb.
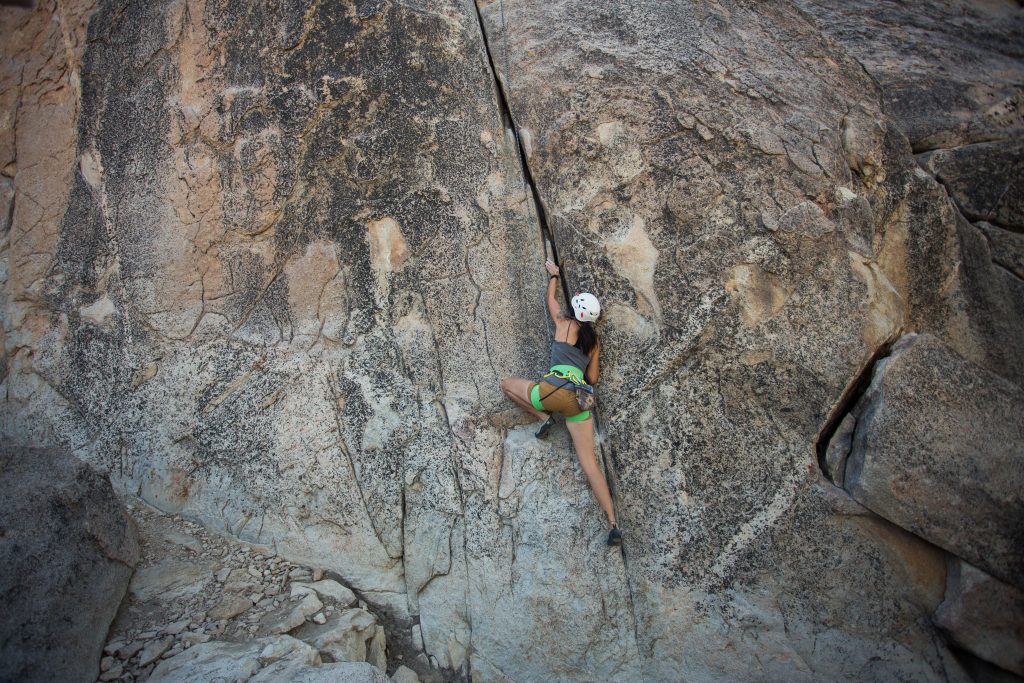
- Pay attention to angles: No one wants to watch a film where the only angle is the dreaded butt shot. Set up ropes and rigging so you can hang next to the climber or above them. Think about capturing silhouettes, crux movements, the dynamic of a tiny climber on a large wall.
- Vary your shots: Aikman says one of the biggest mistakes people make is “forgetting to capture the close-up inserts.” Landscapes are an important part of many climbing films, but variety will keep things interesting; shoot from multiple vantage points, if possible.
- Think about color: Colorful clothing can help a climber pop against their background; consider asking your subjects to bring along a few different shirts or jackets and see what might look best on camera.
- Keep it moving: “Throw some slight moves into your camera work,” says Aikman. “Your shift in position will create a parallax effect with your subject and make the exposure pop.”
Photo credit: Tommy Lisbin [Top], Patrick Hendry [Middle], Brooke Anderson [Bottom]